Introduction to Docker
Learning Docker through an example
I have been playing around with Docker during the last few days ,and I am quite impressed by its abilities. I am writing this blog to share what I have learnt by trying to dockerize a simple Flask app.
What is Docker?
Docker is an open source containerizing platform, It enables developers package their applications into containers.
What is a Container?
According to Google,
Containers are lightweight packages of your application code together with dependencies such as specific versions of programming language runtimes and libraries required to run your software services.
What are the advantages of Docker?
The major advantage of using docker is that you do not need to setup your application again and again for different servers, you can just create a docker image once and then deploy it easily on other servers. It also helps when different applications require different versions dependencies as running them in separate containers prevents dependency conflict.
Building the Application
Let us take a simple Flask app and try to dockerize it.
Code of the app:
from flask import Flask
import mysql.connector
from mysql.connector import errorcode

app = Flask(__name__)

@app.route('/')
def connect():
    try:
        mydb = mysql.connector.connect(
            host="localhost",
            user="docker_user",
            password="Docker@123",
            database="docker"
        )
        return "Connected"
    except mysql.connector.Error as err:
        if err.errno == errorcode.ER_ACCESS_DENIED_ERROR:
            return "Something is wrong with your user name or password"
        elif err.errno == errorcode.ER_BAD_DB_ERROR:
            return "Database does not exist"
        else:
            return str(err)

if __name__ == '__main__':
    app.run(debug=True)
Requirements of the app:
mysql-connector-python
flask
The app just tries to connect to MySQL as user docker_user to access database docker and returns
Connected if the connection is successful.
Now we need to create this user and database in MySQL. Start the MySQL client and run the following commands,
CREATE DATABASE docker;
CREATE USER docker_user@'localhost' identified by 'Docker@123';
GRANT ALL PRIVILEGES ON docker.* TO docker_user;
FLUSH PRIVILEGES;
This first creates the database docker, then it creates the user docker_user and then grants privileges of the database docker to docker_user.
Now after running the app and visiting it in the browser we see,
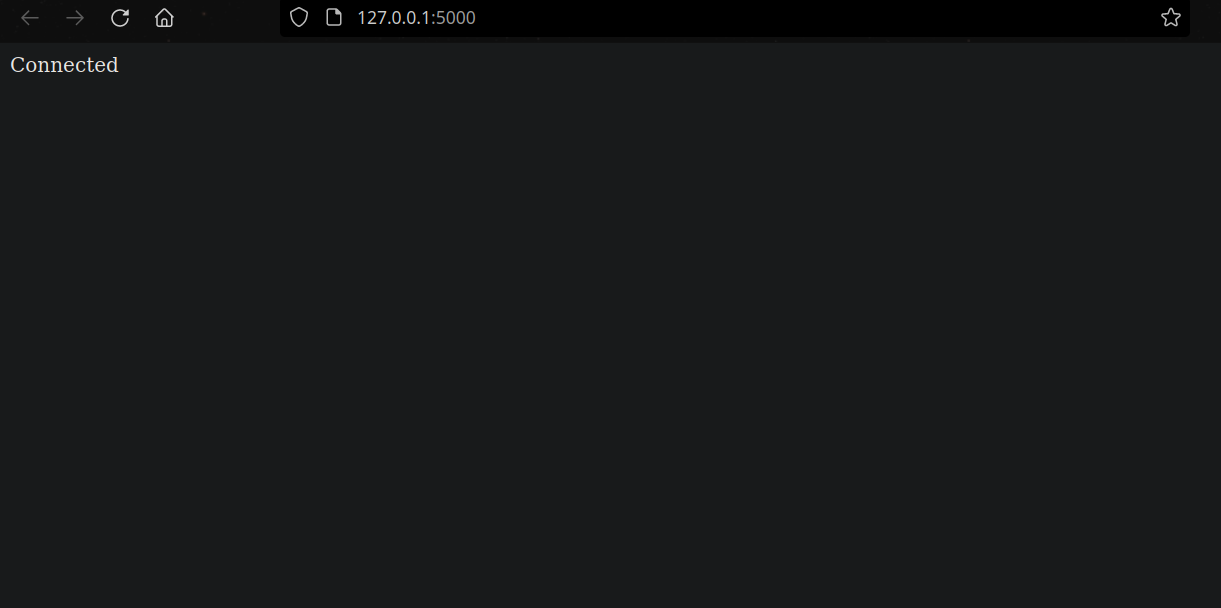
Dockerizing the Application
To create an image from the application, we would need to write a Dockerfile. The Dockerfile for this application is,
# syntax=docker/dockerfile:1

FROM python:3.9-slim-buster
WORKDIR /app
COPY requirements.txt requirements.txt
RUN pip install -r requirements.txt
COPY . .
ARG FLASK_PORT=5000
ENV FLASK_PORT=$FLASK_PORT
ENTRYPOINT python3 -m flask run --host=0.0.0.0 --port=${FLASK_PORT}
Here we are first taking a base image of python3.9 which already has python and pip installed, then we are a creating a working directory so that we can write relative paths. We then copy our requirements.txt to our working directory and install the packages needed. Finally, we copy our code, taking port as an environment variable, and run the app.
Note: it is important to run the flask app on 0.0.0.0 else we will note be able to forward it.
Now, we can build the image using,
docker build --tag flask-docker .
Now using docker images we can see that our image has been built,

Now for MySQL, there is already an official image on docker hub (it is a website from where docker gets images uploaded by other people), we just need to pass our environment variables,
docker run --name db -e MYSQL_ROOT_PASSWORD="Docker@123" -e MYSQL_DATABASE="docker" -e MYSQL_USER="docker_user" -e MYSQL_PASSWORD="Docker@123" -d mysql
Here -d is for running in detached mode, by default docker is attached to the terminal so when we close it our application will also close.
Now, let's run our app on port 5000,
docker run --name app -e FLASK_PORT="5000" -p 5000:5000 -d flask-docker
The -p flag maps the port 5000 of our pc to 5000 of the Docker conatiner.
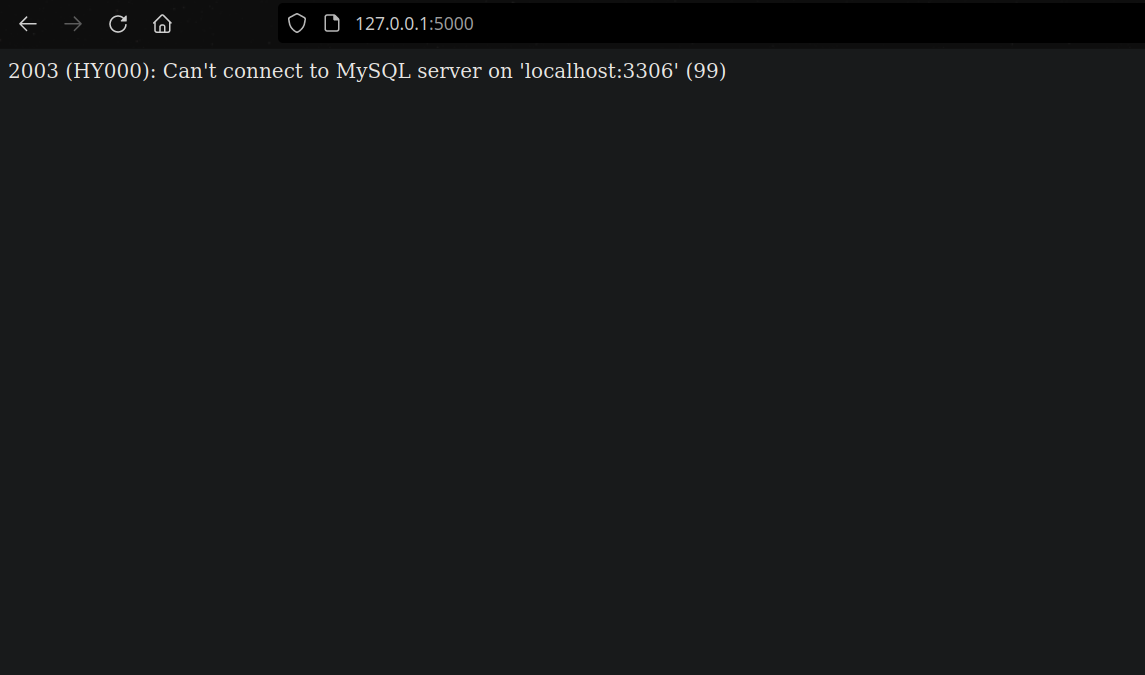
Networks
As we can see our app cannot reach the database even though the database is running this is because they are running in separate containers. With Docker, we can add them both in the same network.
First let us create a network,
docker network create my_network
Then, changing the host in our app.py to name of the MySQL container db and rebuilding the image,
from flask import Flask
import mysql.connector
from mysql.connector import errorcode

app = Flask(__name__)

@app.route('/')
def connect():
    try:
        mydb = mysql.connector.connect(
            host="db",
            user="docker_user",
            password="Docker@123",
            database="docker"
        )
        return "Connected"
    except mysql.connector.Error as err:
        if err.errno == errorcode.ER_ACCESS_DENIED_ERROR:
            return "Something is wrong with your user name or password"
        elif err.errno == errorcode.ER_BAD_DB_ERROR:
            return "Database does not exist"
        else:
            return str(err)

if __name__ == '__main__':
    app.run(debug=True)
Finally, we rerun our db and app with this network,
docker run --name db -e MYSQL_ROOT_PASSWORD="Docker@123" -e MYSQL_DATABASE="docker" -e MYSQL_USER="docker_user" -e MYSQL_PASSWORD="Docker@123" -d --network my_network mysql
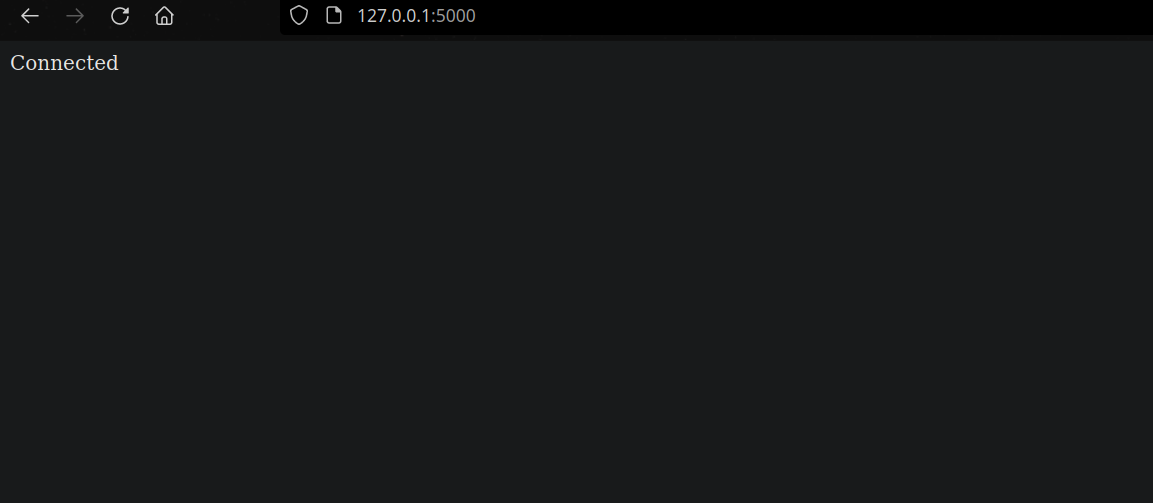
docker run --name app -e FLASK_PORT="5000" -p 5000:5000 -d --network my_network flask-docker
Now going to http://localhost:5000/,
Docker-compose
As you can probably see that the commands we have to run have become very long, and we need to rerun then every time we change our image or our configuration. The solution to this is docker-compose, we just need to create a docker-compose.yml file.
For our current setup:
version: "3.9"
services:
  app:
    image: flask-docker
    ports:
      - "5000:5000"
    environment:
      - FLASK_PORT=5000

  db:
    image: mysql
    ports:
      - "3306:3306"
    environment:
      - MYSQL_ROOT_PASSWORD=Docker@123
      - MYSQL_DATABASE=docker
      - MYSQL_USER=docker_user
      - MYSQL_PASSWORD=Docker@123
Note: Different versions of docker-compose has different syntax see here.
Now to run our setup we just need to run,
docker-compose up -d
docker-compose already creates a default network, so we do not need to create another.
Conclusion
Now we have reduced our setup to a single command after installing docker and docker-compose.
By default, data stored in Docker is written in the writable container layer which no longer exists after the container is destroyed, and it is also difficult to move. For persistent data you should use volumes.
You are encouraged to learn more about docker at the official docs.